Wednesday, May 12, 2010

My Third Beaded Embroidery Neckpiece

I went supplies shopping yesterday and bought a few howlite beads dyed to look like turquoise gemstones.  After much deliberation, I decided to make a bracelet cuff.  However, in the midst of beading, Lady Inspiration strongly suggested I do a neckpiece or collar instead!  This piece consists of 5 separate pieces which will be put together at the very end.  I've yet to name her.

Here's a tiny teardrop howlite bead I glued on my stiffener fabric.


Here's the same teardrop after I beaded around it.  I used the bezelling method to capture the teardrop so there's no way it will drop off.  It's securely sewn to the stiffener fabric.

I decided to use this spray painted faceted shell bead (isn't it a gorgeous colour?) as my contrast colour. 
All done with the bezelling and bead embroidery.

Here I've completed the edging after glueing it to my camel coloured ultrasuede fabric.

This is the beautiful centrepiece of the necklace! 

Check back at the end of the week to see the completed neckpiece.

Monday, May 10, 2010

PRINCESS all done!

This past weekend I celebrated my 39th birthday (yes, AGAIN!) and Mothers' Day.  The hubby and children got me an Osim uGoGo, bought me lunch and I also chose a Four Leaves chocolate mousse cake.  I really like bakes from Four Leaves.  When I was working at Mt Elizabeth Hospital many years ago, I remember they had their first bakery nearby.


I managed to put on the finishing touches to PRINCESS so here are the photos!

PRINCESS is meant for evening wear.  She is made from freshwater pearls, Swarovski pearls and Japanese glass seed beads of various sizes.  Her colours range from different whites to beige, pale yellow and pastel peach.  PRINCESS measures about 15 inches so fits quite snugly on the neck.

For the back I used Swarovski pearls in different sizes, light creamrose and peach with non-tarnish gold wire.

Here's the flattened version of the neck piece. 

The back of PRINCESS with ultrasuede lining.

Now that I'm all done with PRINCESS, I will begin my new bracelet cuff using Tiger eye beads.  Let's see where Lady Inspiration leads me today!

Have a great week, everyone!

Saturday, May 8, 2010

PRINCESS almost completed

It's been a nice week of work and I've been working on 3 projects all at the same time!  Hopefully next week will be an equally good week, if not better and I can begin some new bracelet cuffs.  Here are some photos of my week's work:

Here's PRINCESS, with her main body completed.  I've already glued her to the ultrasuede and started on the edging which will probably take me through the weekend with so many activities going on.  Will show you the completed necklace hopefully by Tuesday.

Last post I showed you two rows of beading.  Here's the sunflower all completed.  I'm still waiting for the brass cuffs to arrive from the US.  It's taking forever!

Meantime, I experimented with an oval shape, smaller and fashioning her into a cocktail ring for myself!  I think for the rings I sell, I will leave the peyote strip undone (like in the photo) and when a customer wants to buy it, I'll finish it to a perfect fit (5 minute job)!

So, while I go back to work and run my weekend activities, do have a great one and remember to relax and rest!


Tuesday, May 4, 2010

Projects started...

I went inspiration shopping yesterday and bought a few simple lace collars in various colours and sizes to make into beaded embroidery neck pieces and collars. Here are a few photos I thought I'd share with you today.

A simple lace collar which I've sewn on my stiffening fabric.  I will  be embellishing with pearls, crystals and all sorts of beads I can find with lustre and bling!  This necklace will be in white, beiges and creams. 

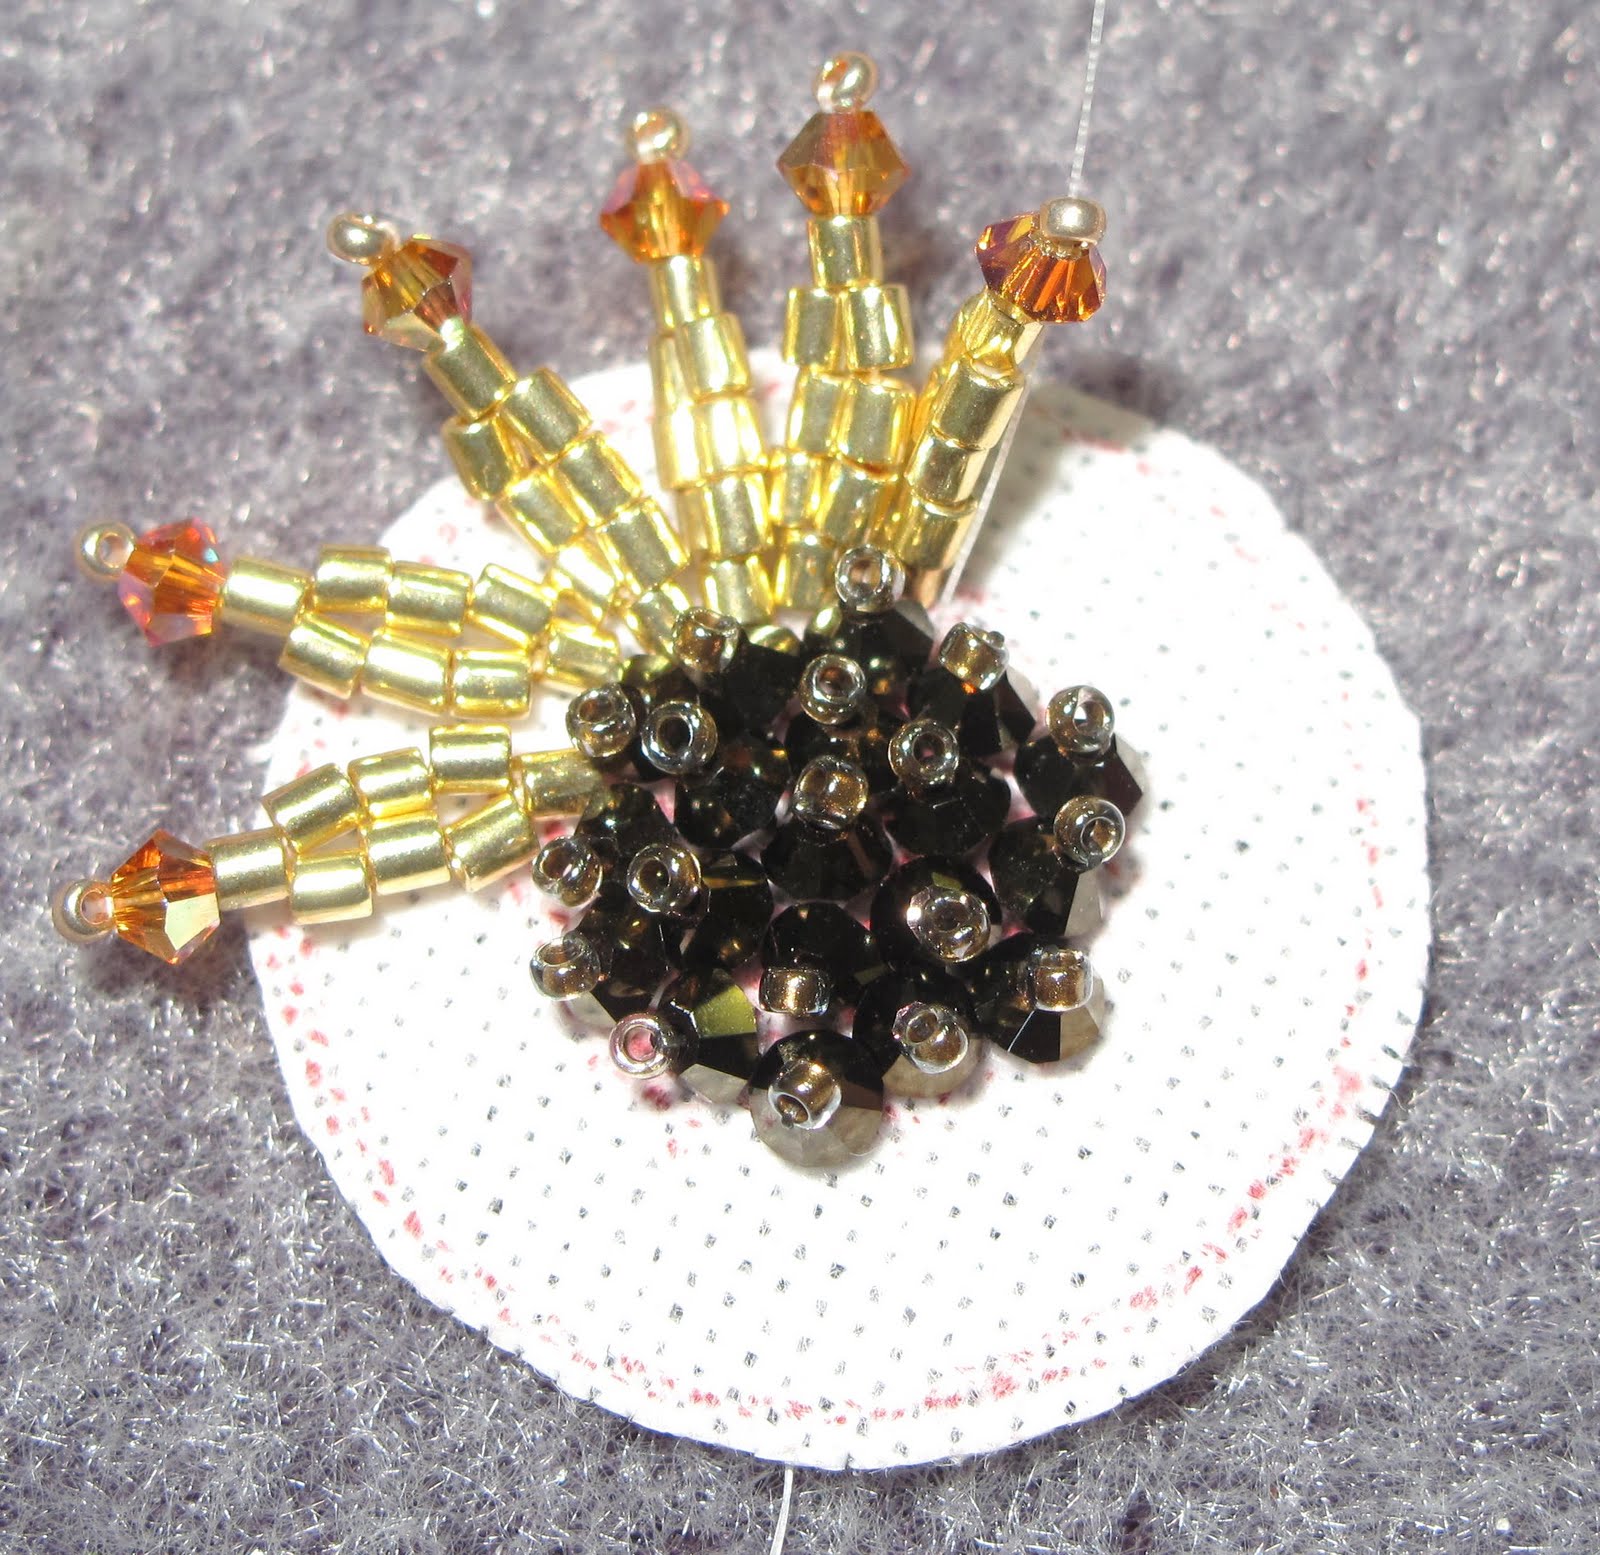
This is a flower centre I made in anticipation of my US cuff blanks due to arrive any day now. 

Starting on another flower centre, I'm making this in gold for evening wear.

After completing the second row, this is what the flower looks like.  For the flower to look full and lush, I'll probably need to sew about 5-6 rows.  I simply love making these flowers so may make one in blue and maybe another in pink!  I'll let Lady Inspiration lead the way!

Have a great one!

Saturday, May 1, 2010

BIANCA completed!

It was a good day for me yesterday, going down to get more supplies, grocery shopping with the husband and then home to complete BIANCA.  All in all I spent about 15 hours to complete her and am very happy with the result.

Here's BIANCA, all embroidered up and ready for the finish.

All done!  I absolutely love the feel of BIANCA in my hands.  Solid and substantial, but not too heavy.  She is 7.5 inches long and about 2 inches in width, the standard for a bracelet cuff.

Here's the back of BIANCA.  I glued the stiffener to the ultrasuede and sewed an overlay to secure both sides.

Close up front view.


Close up back view with the German-made antique gold clasp.

Materials used are freshwater pearls, Japanese glass seed beads sizes 15.0, 11.0, 8.0 and magatamas.

As with all beaded embroidered necklaces and bracelet cuffs, each piece is unique and one-of-a-kind.  There is no one else wearing the same piece.  If you are interested in owning one (or more) of these heirloom pieces, do drop me a line.   At this point in time, I will not be taking custom orders for these pieces.
Photos by Rebecca Yam

Thursday, April 29, 2010

Step-by-Step for BIANCA

I was planning to go shopping for supplies for my embroidery collars but decided to settle down and work on my new bracelet.  I am naming her BIANCA because she is fair and white.  A hint of pale peach, beige and yellow complete her colour scheme.  The photography isn't great because it's raining once again and my lighting is all messed up!  But I am sure you get the idea what I've been doing.

I started off by making 3 flowers, one large and two medium.  Then I drew the outline of the bracelet on extra hard stiffener (the ones they use to make men's shirt collars).

I centred the large flower and just went from there, not knowing what I would be doing.  I had all my beads placed in front of me and just let my fingers do the walking!

Here's half of the bracelet completed.  I used Swarovski pearls, freshwater pearls, aluminium beads, and different kinds of Japanese glass seed beads (some gold plated, silver lined, opaque, transparent etc).  I kept the bigger and more protruding beads on top so that it won't hinder the wearer.   Now to work on the second half of the piece.


How Toys Become Real

Last year I had the privilege of taking a session with some young adults on the topic of how to be real in our lives and relationships.  I discovered this wonderful book called The Velveteen Rabbit or How Toys Become Real.  It is a children's novel written by Margery Williams and illustrated by William Nicholson. It chronicles the story of a stuffed rabbit and his quest to become real through the love of his owner. The book was first published in 1922 and has been republished many times since.

Since I've been beading at full steam ahead the past 2 days, I've also have been listening to stories on my iphone.  I thought I'd share this litte abstract with you and maybe together we can be a bit more reflective today!


"What is REAL?" asked the Rabbit one day, when they were lying side by side near the nursery fender, before Nana came to tidy the room. "Does it mean having things that buzz inside you and a stick-out handle?"


"Real isn't how you are made," said the Skin Horse. "It's a thing that happens to you. When a child loves you for a long, long time, not just to play with, but REALLY loves you, then you become Real."


"Does it hurt?" asked the Rabbit.


"Sometimes," said the Skin Horse, for he was always truthful. "When you are Real you don't mind being hurt."


"Does it happen all at once, like being wound up," he asked, "or bit by bit?"


"It doesn't happen all at once," said the Skin Horse. "You become. It takes a long time. That's why it doesn't happen often to people who break easily, or have sharp edges, or who have to be carefully kept. Generally, by the time you are Real, most of your hair has been loved off, and your eyes drop out and you get loose in the joints and very shabby. But these things don't matter at all, because once you are Real you can't be ugly, except to people who don't understand."


"I suppose you are real?" said the Rabbit. And then he wished he had not said it, for he thought the Skin Horse might be sensitive. But the Skin Horse only smiled.


"The Boy's Uncle made me Real," he said. "That was a great many years ago; but once you are Real you can't become unreal again. It lasts for always."


Wednesday, April 28, 2010

Appreciation

Thanks so much to those of you who contacted me the past two days and told me how much you love ALIZA!  I really appreciate your positive feedback especially since I worked really hard on it and know that others besides myself appreciate it.  Making a beaded embroidery collar is like drawing or painting a piece.  I may have a general idea where I want to go, but in between it's really up to Lady Inspiration and where my hands take me.  When the piece is completed, it may be totally different from what I envisioned it to be at the beginning!

Last night I started making some small beadwork pieces to make up the whole for my next embroidery collar but somehow the colours are not coming together as I would like.  I think I'll have to go to my suppliers tomorrow since I've customers visiting today.

In the meantime, have a great rest of the week!


Tuesday, April 27, 2010

Beadwork Embroidery Collar completed!

This morning I was trying SO, SO hard to complete Aliza (yes, I named her!) which means "joyful or cheerful" but was constantly interrupted by phone calls, household chores and cat throwing up a hairball.  So it took longer than expected but I'm done!

Here she is, folks, introducing ALIZA!

In total I spent 55 hours of actually embroidery time.  I think it took so long because I kept breaking the needles until I switched to a slightly thicker and shorter needle.  Hopefully my next collar will take under 40 hours to complete! 

I had a lot of fun selecting the beads and colours.  I wanted something cheerful but not too loud.  The necklace itself was made from Delica beads and beaded with a plastic tube inside for support since the collar part is quite substantial and heavier than normal.

This is the back of the necklace.  I used my new camel ultrasuede from the US.  It was soft and easy to manage.  I glued the collar to the ultrasuede and sewed an overlay of beads to secure it even further and give it a nicer finish.

Here is the collar on my model.  It looks much better on a person since this model is a little smaller than a human. 

Now I'm off to design another embroidery collar but this time the theme and colours will be totally different.  Check back often to see what I'm doing!

Monday, April 26, 2010

Progress report on Beadwork Embroidery Collar

After another hectic weekend, I managed to sit down yesterday afternoon and the whole of today to work on my beadwork embroidery collar.  The ultrasuede backing I ordered from the US came on Saturday night by UPS so I'm really excited about completing the necklace, hopefully by tomorrow.  Here's a photo of my embroidery after about 50 hours of work.

The brown fabric on which the collar is on is the ultrasuede I will use to back the necklace.  I couldn't find a large enough piece sold in Singapore (they all come in 6x8 inches only!) so I had to order from the US which cost about S$100 for one yard!!  It is akin to suede leather but much softer.

With my new project assignment, I will be making quite a few beadwork embroidery collars and cuffs the next few months.  It will be interesting to see how this works out.  Come back for visits to catch my projects in progress!


Thursday, April 22, 2010

Beadwork Embroidery Collar

This week I'm working on a new project.  In fact, I'll be working on several new projects the next few weeks so if I'm rather quiet, be assured I am actually working to bring you new items.  It's been a rather busy week for various reasons but here are a few photos of my new project...

Before I started, I looked through my stash of gemstone beads and decided on sandstone, agate, seashell, turquoise and Czech glass.  Then I drew out the design and glued the gemstones on my stiff backing.  I then painstakingly selected the tiny glass seed beads to complement the gemstones.  Sometimes the colours don't work the way I envision so I undo the whole lot and start all over again till I'm satisfied with the results.

I still had time to change my beads which I did.  This photo was taken 5 hours after I started the glueing process.

Here's the project 12 hours later!  Yes, it's very time consuming because I have to select the right colour and texture of glass beads to fit my design.  Bead embroidery is mostly free work which means to say there's no pattern to follow, just my hands and heart doing the work. 

Stayed tuned as I continue to work on this project (yet to be named).  I can't wait to complete it but I think the embroidery part will take another week or so.  I just ordered the ultrasuede backing for the necklace (cost me more than S$100 per yard!!) from the US so will have to wait for its arrival before I can complete the whole piece.


Studio Photos!

I thought it'll be nice to show you some photos I took this morning of my jewelry studio.  This is the place you can come to visit and attend workshops and classes.

As you enter you will notice lots of displays and a table in the centre for workshops and classes.

Lots of mirrors in the room so almost everywhere you turn you can see yourself!  At the last count there are 5 mirrors and more table mirrors!

The table from the other end of the room.  When there are classes and workshops for more than 2 participants, I remove the table displays for more space.

More jewelry to look at.

There's even a full length mirror for you to wear your favourite outfits and try on jewelry.

If you'd like to visit, do drop me a line to make an appointment.